I wrote this tutorial a couple years ago (originally posted on the Ugly Baby and La Ru blog) after Epson sent us a LabelWorks Ribbon Printer to test out. One of the projects I came up with were Felt Fortune Cookies. This year, at Craftcation, I am teaching how to make Felt Fortune Cookies and Epson was kind enough to donate six printers for the class! I will be giving away a few at the end of my class and a few will be given away on the dearhandmadelife blog. I thought it would be fun to re-post this this tutorial since it is such a fun project.

Supplies:
- Epson LabelWorks Printable Ribbon Kit (and ribbon, color of your choice)
- Tan felt Brown
- Embroidery Floss (any color brown you choose)
- Scissors
- 2 pins
- 1 sewing needle
- 1 pen (such as a Sharpie)
- 1 mug or other circular object that you can use as a template
(If you don't have an Epson LabelWorks Printable Ribbon Kit, you can also write on paper and tuck it into the finished fortune cookie.)

Trace the circular object you are using as a template onto the felt.

Cut out the felt circle.
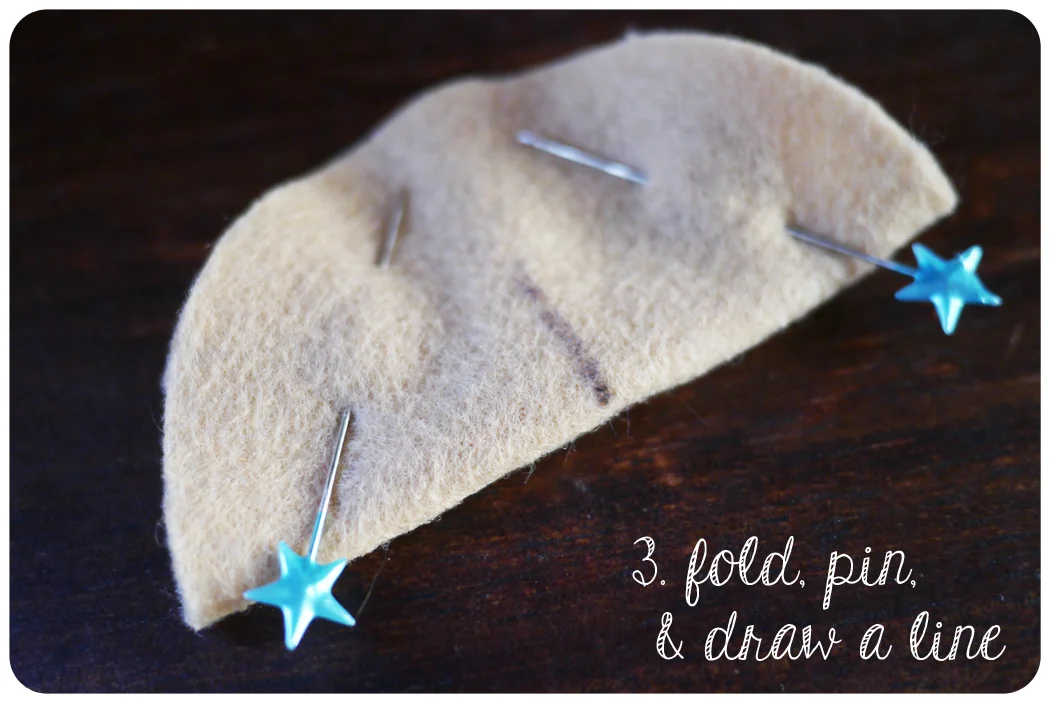
Fold and pin in half. Draw a line from the center of the half circle toward the top of the arch about a half inch (or about half the arch depending on the size of circle you cut out).

Cut about 20” of embroidery thread, separate and use 3 strands. Thread a needle and knot at one end. Stitch along line.

Compose a fortune for your fortune cookie. In this example I used “You will meet a new friend today.

Type your message on the Epson LabelWorks Printable Ribbon Kit. You can choose the font, the font style, and even add some cute symbols and borders! When typing up your message make sure to add a few spaces (about five) before your message so there will be enough space in the ribbon once sewn in the fortune cookie.

Print out your fortune.


Line up the ribbon with the fold of the fortune cookie (the top of the ribbon should line up with the edge of the half circle, with the beginning of the ribbon closest to the stitched line). The beginning of the ribbon should overlap the line slightly.

Stitch along the line to attach the ribbon.
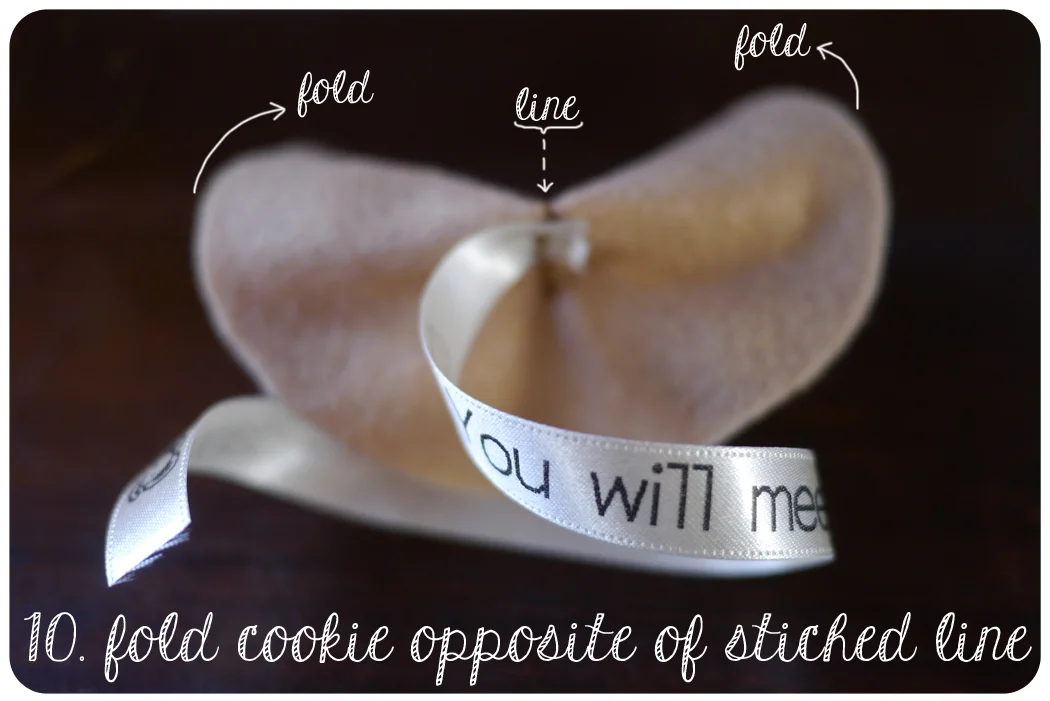
Open the folded circle and then fold in half (opposite to first fold).

Match up edges and pin. Using the other half of the 20” embroidery thread (3 strands), knot one end and thread the other.

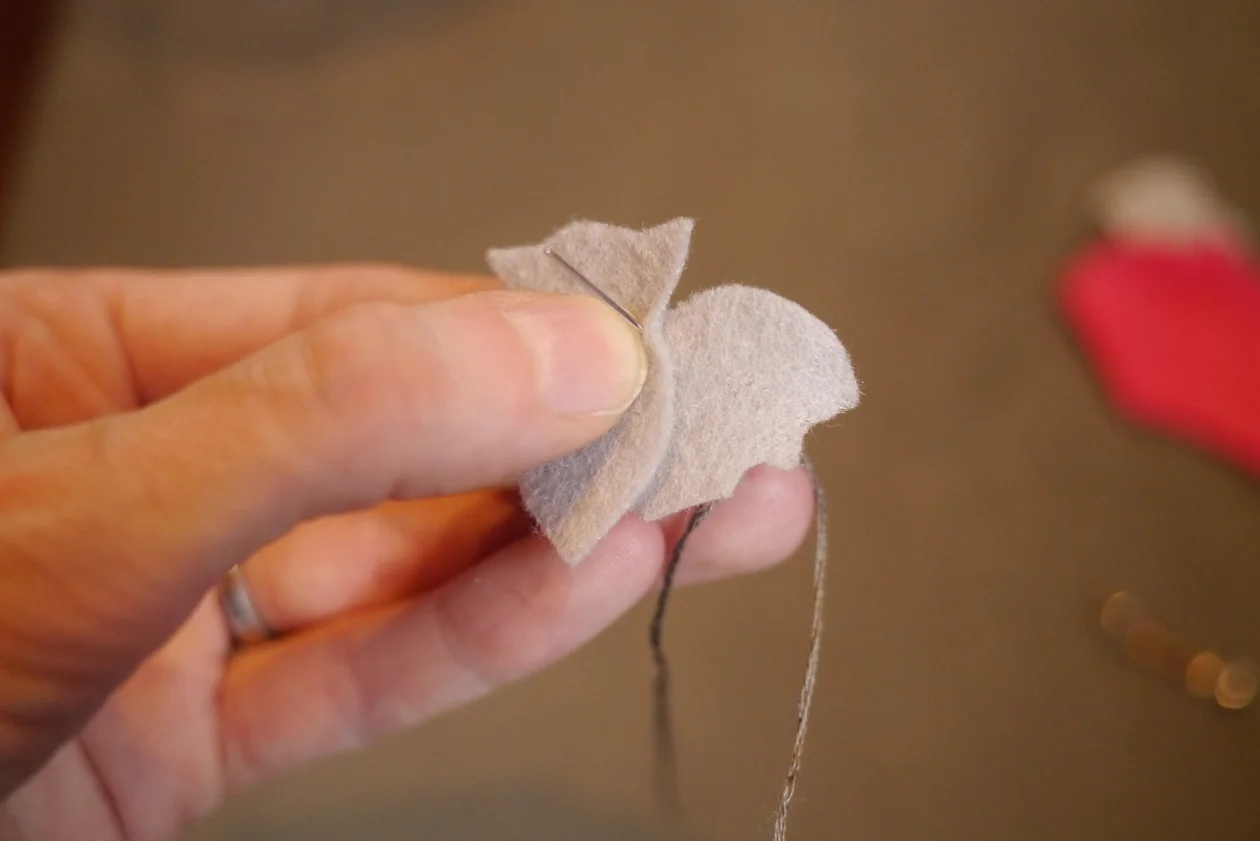
Starting at one side of the fold, Blanket stitch the 2 layers together until you get about 1 inch from the other side of the fold.

Once you are about 1” away, Blanket stitch along a single layer of felt until you reach the other side (where the 2 layers are stitched together). Knot and cut thread.

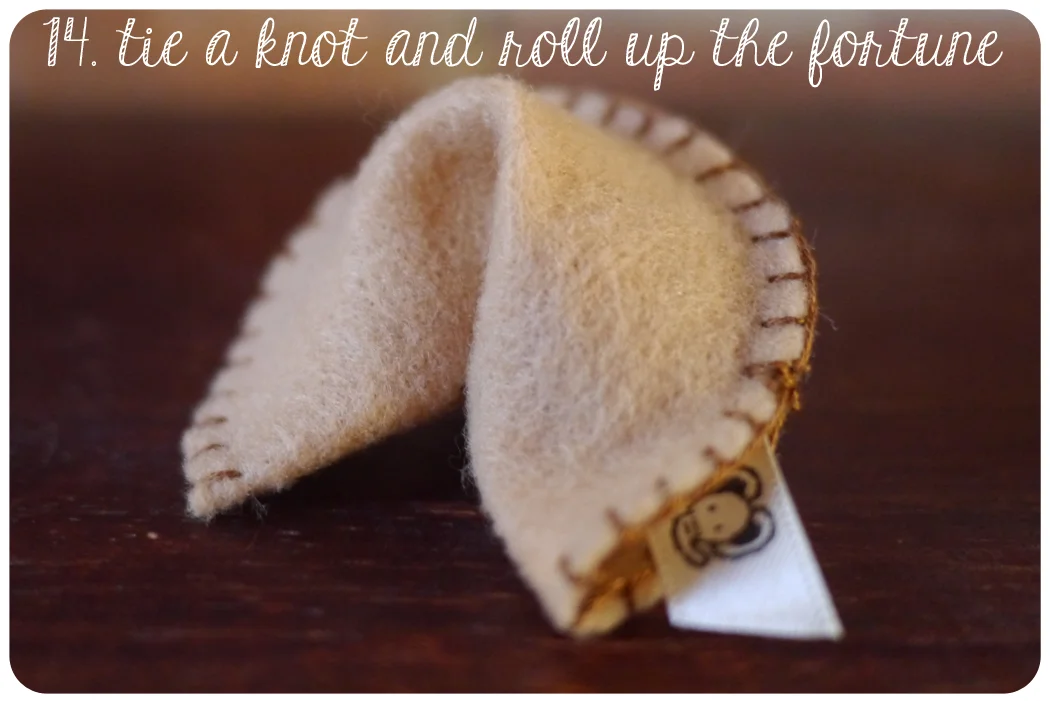
Roll up the ribbon and tuck into fortune cookie. You can cut the end of your ribbon either at an angle or like a V for a finishing touch.

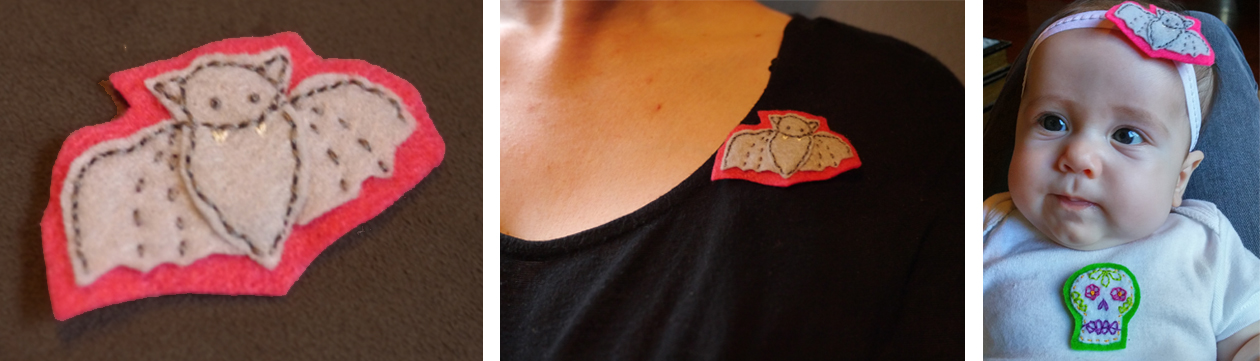
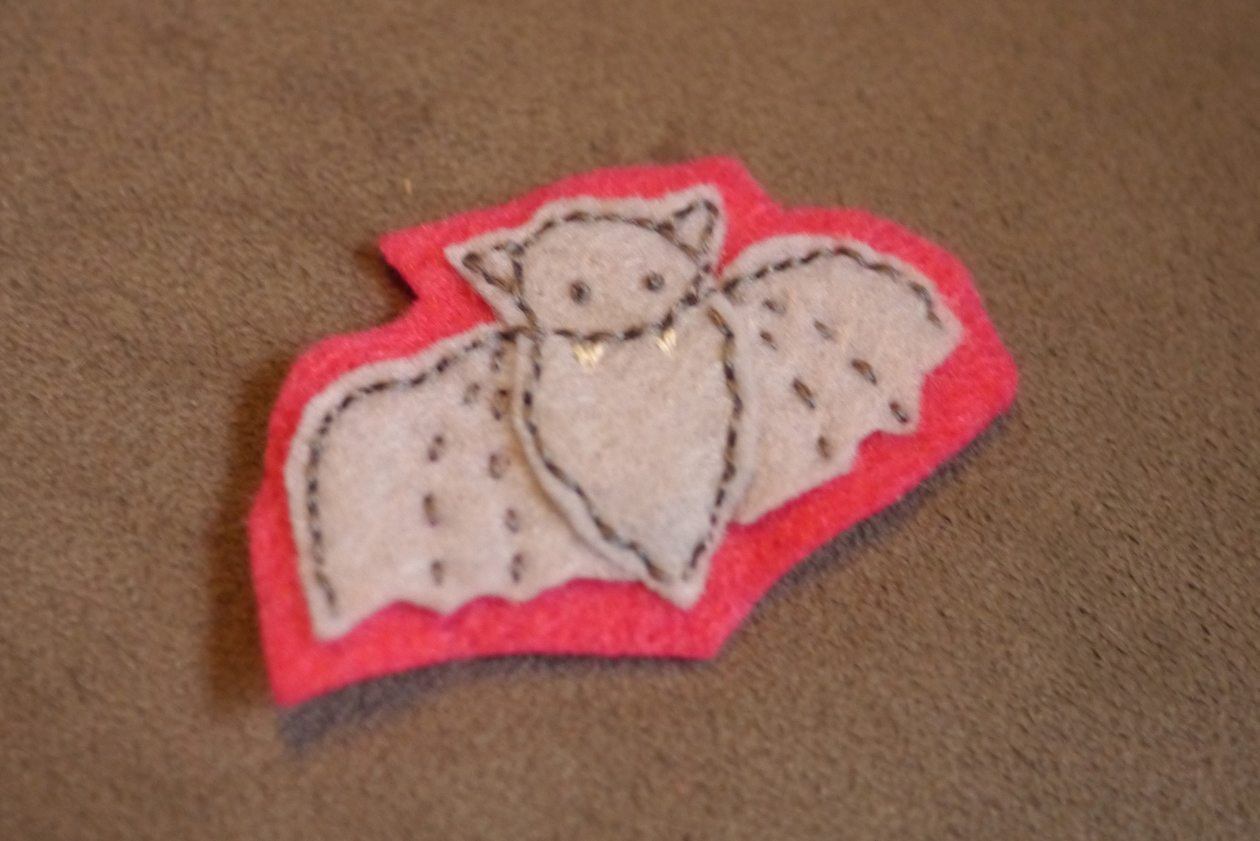
These fortune cookies make great handmade party favors. They are also a neat way to tell that special someone how much you care for them. Set them out on the tables at your wedding or hide them around the city with secret messages hidden inside.
Want more information on the Epson LabelWorks Ribbon Printer? Check out Epson's website here. If you have questions feel free to leave them in the comments section and I will help you out.